 Download Help PDF (29MB) | Search:
Located at the bottom of the wizard window, the Image Explorer Pane is where you find images to add to your slideshow. You select a folder, a preview of its images is shown, then you drag the images into a gallery. The pane appears as follows:
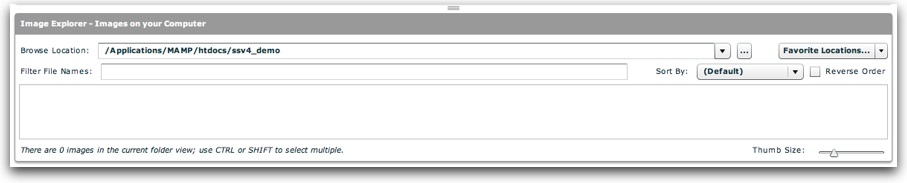
Note: Builds 214+ include a 'Size' option to the left of 'Sort By'; the image above does not include this. See below for information on the Size field.
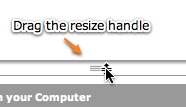
To resize the height of the pane (or hide it entirely), drag the resize handle at its top:
The Browse Location dropdown menu allows you to specify the folder in which to look for images. By default, the site root is shown in the browse box. More on this is detailed below.
The Favorite Locations dropdown menu allows you to store your favorite browse locations for easier access. More on this is detailed below.
The Filter File Names box allows you to only show some of the images in the folder, requiring that their file names contain the specified filter string.
The Size Profiles dropdown menu allows you to specify which photos should be shown based on their resizing profiles. A resizing profile is assigned to a photo when it is resized/optimized using the built-in Image Optimizer / Resizer. By default, only original photos are shown. More on this is detailed below.
The Sort By dropdown menu allows you to change the default sort order.
The Reverse Order checkbox allows you to reverse the sort defined by Sort By.
The Main Box displays a preview of all of the usable images (JPEGs, PNGs, GIFs, and SWFs) in the selected folder, filtered and sorted based on the other options.
The Thumb Size slider allows you to change the size of the thumbnail preview images in the main box.
First, you must select a folder to use. You can type a path manually or use the browse button to jump straight to a specific folder:

Note: You must use an image folder that is within your Dreamweaver site. Otherwise, the images won't be accessible to your slideshow when you deploy the slideshow. However, there is no requirement for the specific location of the images within the site - they can be placed anywhere.
You can also jump to the parent directory or any child directory by using the dropdown arrow on the right edge of the box:
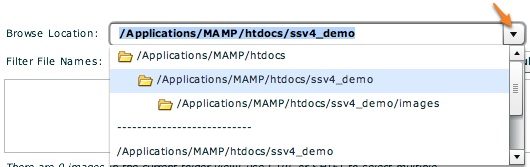
The list displays the current path's parent directory and all of its child directories. At the bottom of the list, all of your recent browse locations are displayed. The last browsing location is automatically remembered (separately for each site) and restored when you re-launch the wizard.
You can also save a specific folder as a favorite location, allowing you to jump straight to the folder by selecting it from the favorites menu. To add a new item, select the Add New Location option from the dropdown:
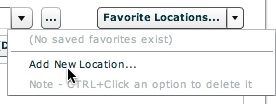
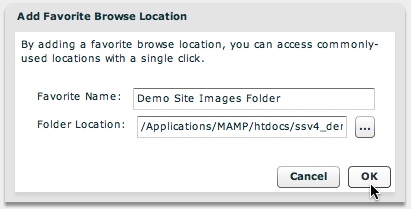
In the dialog which appears, specify the location of the folder and the name you want displayed in the Favorite Locations menu, then click OK:
The location will now appear in the menu:
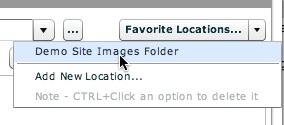
Click on a saved location to select it in the Browse Location box. To remove a favorite location, CTRL+click (CMD+click on Macintosh) the option and it will be removed.
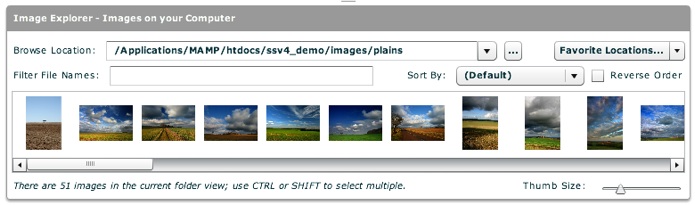
Once you have selected a folder which contains usable images, they will appear in the main box:
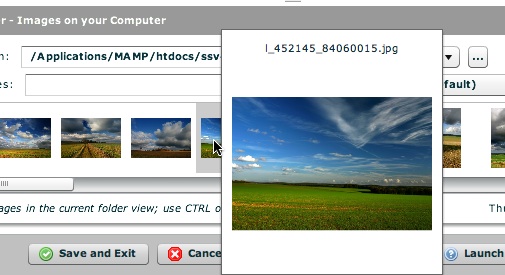
You can hover over an image to view its filename, dimensions, and a larger preview image: (Note - this screenshot does not include the dimensions; this feature was added in a later build.)
Tip: If you don't want these tooltips to appear, you can select File > Enable/Disable All Tooltips to prevent them from appearing.
To change the size of the thumbs in the preview box, drag the Thumb Size slider directly below it:
![]()
To filter the images shown by their filename, you can enter a value which must appear in the filename for the image to be included in the list. The value can appear anywhere in the filename (not just the beginning):

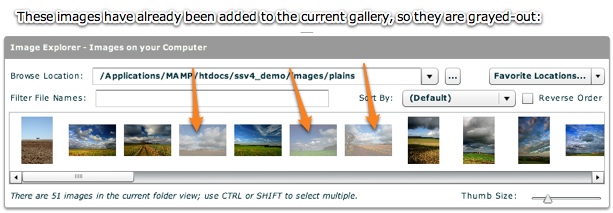
If an image in the current view has already been added to the currently-selected gallery, it will be grayed-out:
When you use the built-in Image Optimizer / Resizer, the new optimized photos are placed in the same folder as the originals. They are identified by a special resizing-profile identifer string that is appended to the original filename. For example an original photo named myphoto.jpg might become xfs_600x400_s80_myphoto.jpg . When browsing a folder that contains both original and optimized photos, it could obviously cause confusion if multiple versions of the same photos were all visible at once. For this reason, only the originals are shown in the Image Explorer by default. However, if you want access to all photos (including resized version) or just photos that have been resized to a certain profile, you can use the Size Profiles menu:
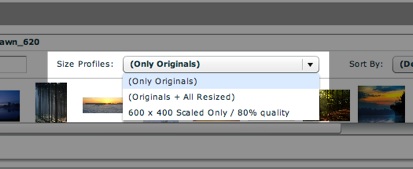
In this example, there are three options:
If photos there were photos with any other resizing profile(s) in this folder, each additional unique resizing profile would also be represented in the list. When browsing folders with only originals, the one and only option will be (Only Originals).
By default, the images are ordered based on the order in which the operating system provides the directory listing. This is usually based on the file name, but this is not always the case. By selecting a value from the Sort By menu, you can explicitly choose a sorting mode:

You can sort by file name (alphabetically or numerically), creation date, modification date, file size, or whether the image is in the current galler or not. The last option is particularly helpful when adding only new images from the directory to a gallery. Selecting the Reverse Order checkbox will reverse the order of the images in the box. Tip: Because the file size of images with smaller dimensions (e.g. thumbnail images) is much smaller than the file size of full-size images, you can use this to group all full-size images at one end of the box and thumbnails at the other. Note: The File Name (Numeric) sort option finds the first group of numbers in the file name and sorts numerically by this group. You can use this option even if the file names contain more than just numbers.
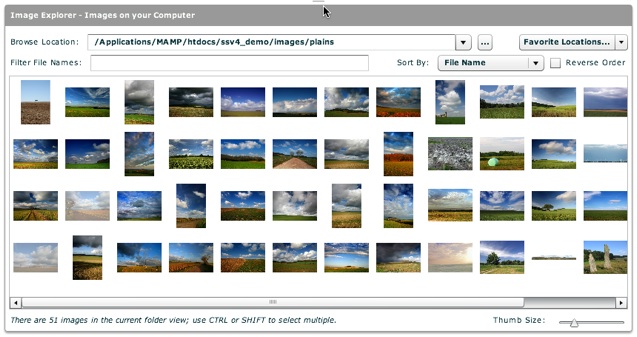
Once you've found the location of the images you want to use, you'll need to select all of the images you want to use so you can drag them all at once. At this point, it can be helpful to expand the size of the Image Explorer Pane (using the resize handle) so that a grid of images is visible:
To select multiple images, you will use the CTRL (CMD on Macintosh) or SHIFT keys. The CTRL key allows you to select multiple images one-by-one, whereas the SHIFT key allows you to select all images between the current selection and the place where you click with the SHIFT key down. You can then use the CTRL key to modify the selection if you want to exclude some images within the selected block.
Tip: To use all images in a folder, click the first image, then scroll to the other end and click the final image with the SHIFT key depressed.
Shown below is an example of a large multiple selection:

Once you have a selection, you're ready to drag it into a gallery. To learn about creating a gallery to drag the images into, proceed to the Gallery Management Pane section.