 Download Help PDF (29MB) | Search:
The Overlay Notes tab is where you can specify floating note boxes. These rectangular boxes, which are positioned over the image/slide, provide an information tooltip about that part of the image when hovered over. This allows you to add notes about specific features of a photo. HTML can be used within the tooltips. Generally, the boxes are only visible when the user hovers over the image, but this can be changed (see the Advanced Customizations section below). Here is an example note:
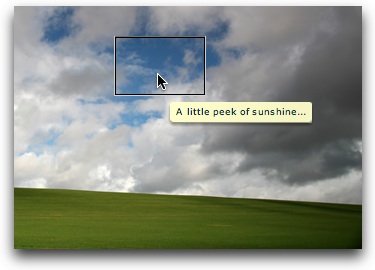
When the user hovers over the slide, the box becomes visible. When the user hovers over the box, the information tooltip becomes visible.
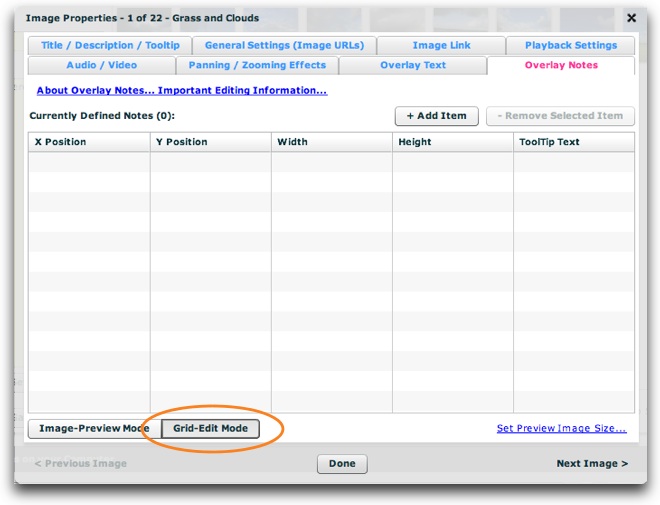
Back in the wizard, the tab appears as follows:
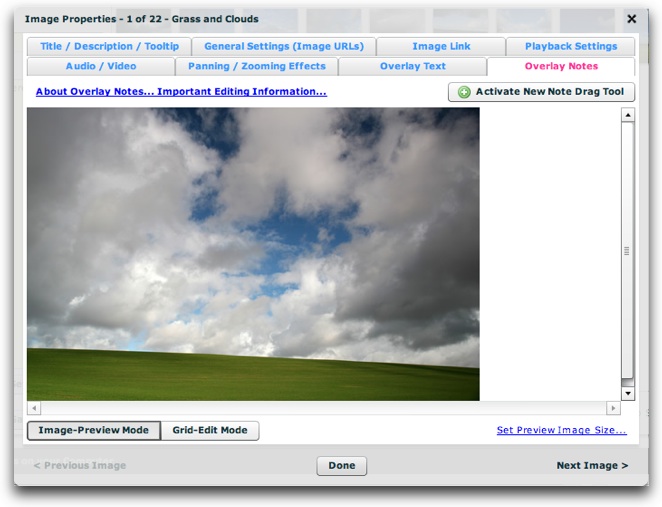
There are two views: the Image-Preview view, and the Grid-Edit view. The Image-Preview Mode allows you to position the note boxes over the image while seeing how it will appear when the slideshow is viewed. In Grid-Edit Mode, a grid listing of all overlay notes on the slide is displayed, allowing you to make changes to, add, or remove note boxes. These views are toggled at the bottom left by using these buttons:

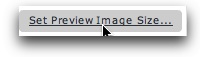
By default, the preview image is shown at its full size. In some instances, this may not be a realistic preview because your slideshow will display the image at a scaled-down size. In order to make the preview more realistic, you can change the maximum width of the preview image, thereby forcing it to resize down. To do this, click the 'Set Preview Image Size...' button at the bottom right:
In the Set Preview Size dialog which appears, you can drag the slider to set the new maximum width of the image:
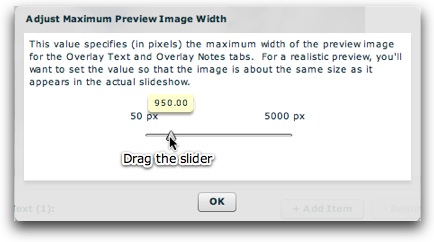
The default value is 5000 pixels, which ensures that the image isn't scaled at all. A smaller value will force resizing to occur. After making any changes, click the OK button to return the main dialog.
The Grid-Edit Mode appears as follows:
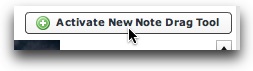
To add a note in the Image-Preview Mode, first activate the new-note drag tool by clicking the 'Activate New Note Drag Tool' button:
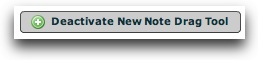
Note - If you want to deactivate the tool without adding a note, click the button again:
Once you have activated the tool, your cursor will change and appear as follows:

The registration point is the upper-left corner of the square with the dashed edge. To create a note, drag the tool across a portion of the image. It will look like this:
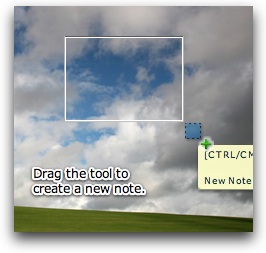
Note: A tooltip may appear while you're dragging. You can ignore it; it's not applicable when creating a note.
Once you release the mouse, you will be prompted to enter the tooltip text associated with the note. Note that you can enter HTML in the field.
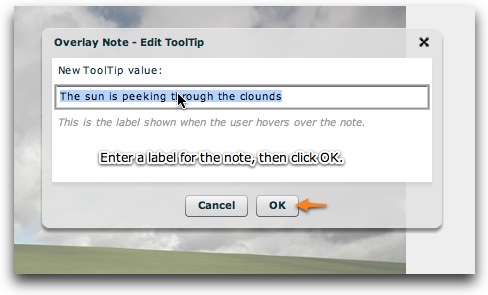
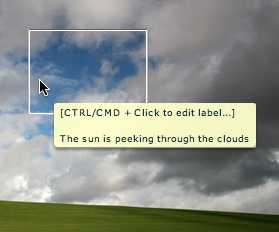
After entering the name, click OK. The new note will appear over the preview image. To see the tooltip associated with the label, hover over the box. To edit the label, CMD+Click (CTRL+Click Windows) on the box:
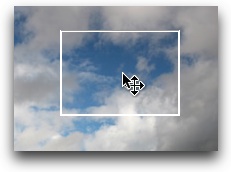
To reposition a note box, simply click in the middle of the box and drag it:
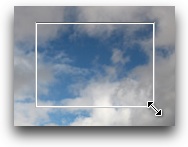
To resize a note, drag the bottom-right corner. A resize-handle will appear when you are over the appropriate area:
While the Image-Preview Mode is good for adding notes, the Grid-Edit Mode is the place to remove notes or make other minor adjustments. After adding the note shown above, the Grid-Edit Mode section appears as follows:
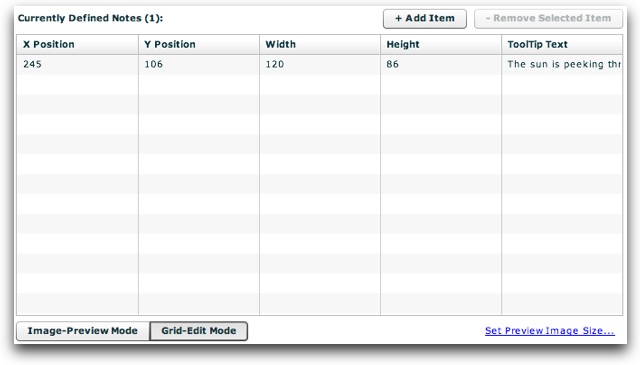
To edit any of the values in the grid, simply click on it; an edit box will appear. You can modify the X and Y positioning coordinates, the width or height, and the tooltip text which appears on hover. To add a new row, click the '+ Add Item' button. To remove a note, click on its row in the grid, then click the '- Remove Selected Item' button:
If you are an advanced user, there are many overlay-note customizations which can be made by modifying XML settings. Detailed information regarding each of these settings can be found in the API reference for the below-mentioned classes.
To change how long the note boxes remain visible before automatically hiding, set the noteHideDelay property on the IndividualSlide style selector (see com.dwuser.ss4.ui.IndividualSlide). If you use a very large value for this setting, the boxes will remain visible after being activated instead of auto-hiding.
To customize the appearance of the boxes and their tooltips, you will use the NoteBox and NoteBoxToolTip style selectors respectively. For more information, see the com.dwuser.ss4.ui.extras.NoteBox and com.dwuser.ss4.ui.extras.NoteBoxToolTip classes.
To customize the behavior of the tooltips (e.g. the appearance delay and whether they track the mouse), you will use the ToolTipAppearanceManager style selector. For more information, see the com.dwuser.ss4.managers.ToolTipAppearanceManager class.
All overlay note instances are instances of the com.dwuser.ss4.ui.extras.NoteBox component. As such, the <note ... /> nodes in the <img> nodes which define the overlay notes are actually NoteBox instances. They support most of the attributes available for the NoteBox component; see the class reference for available parameters.